Notifications

Article
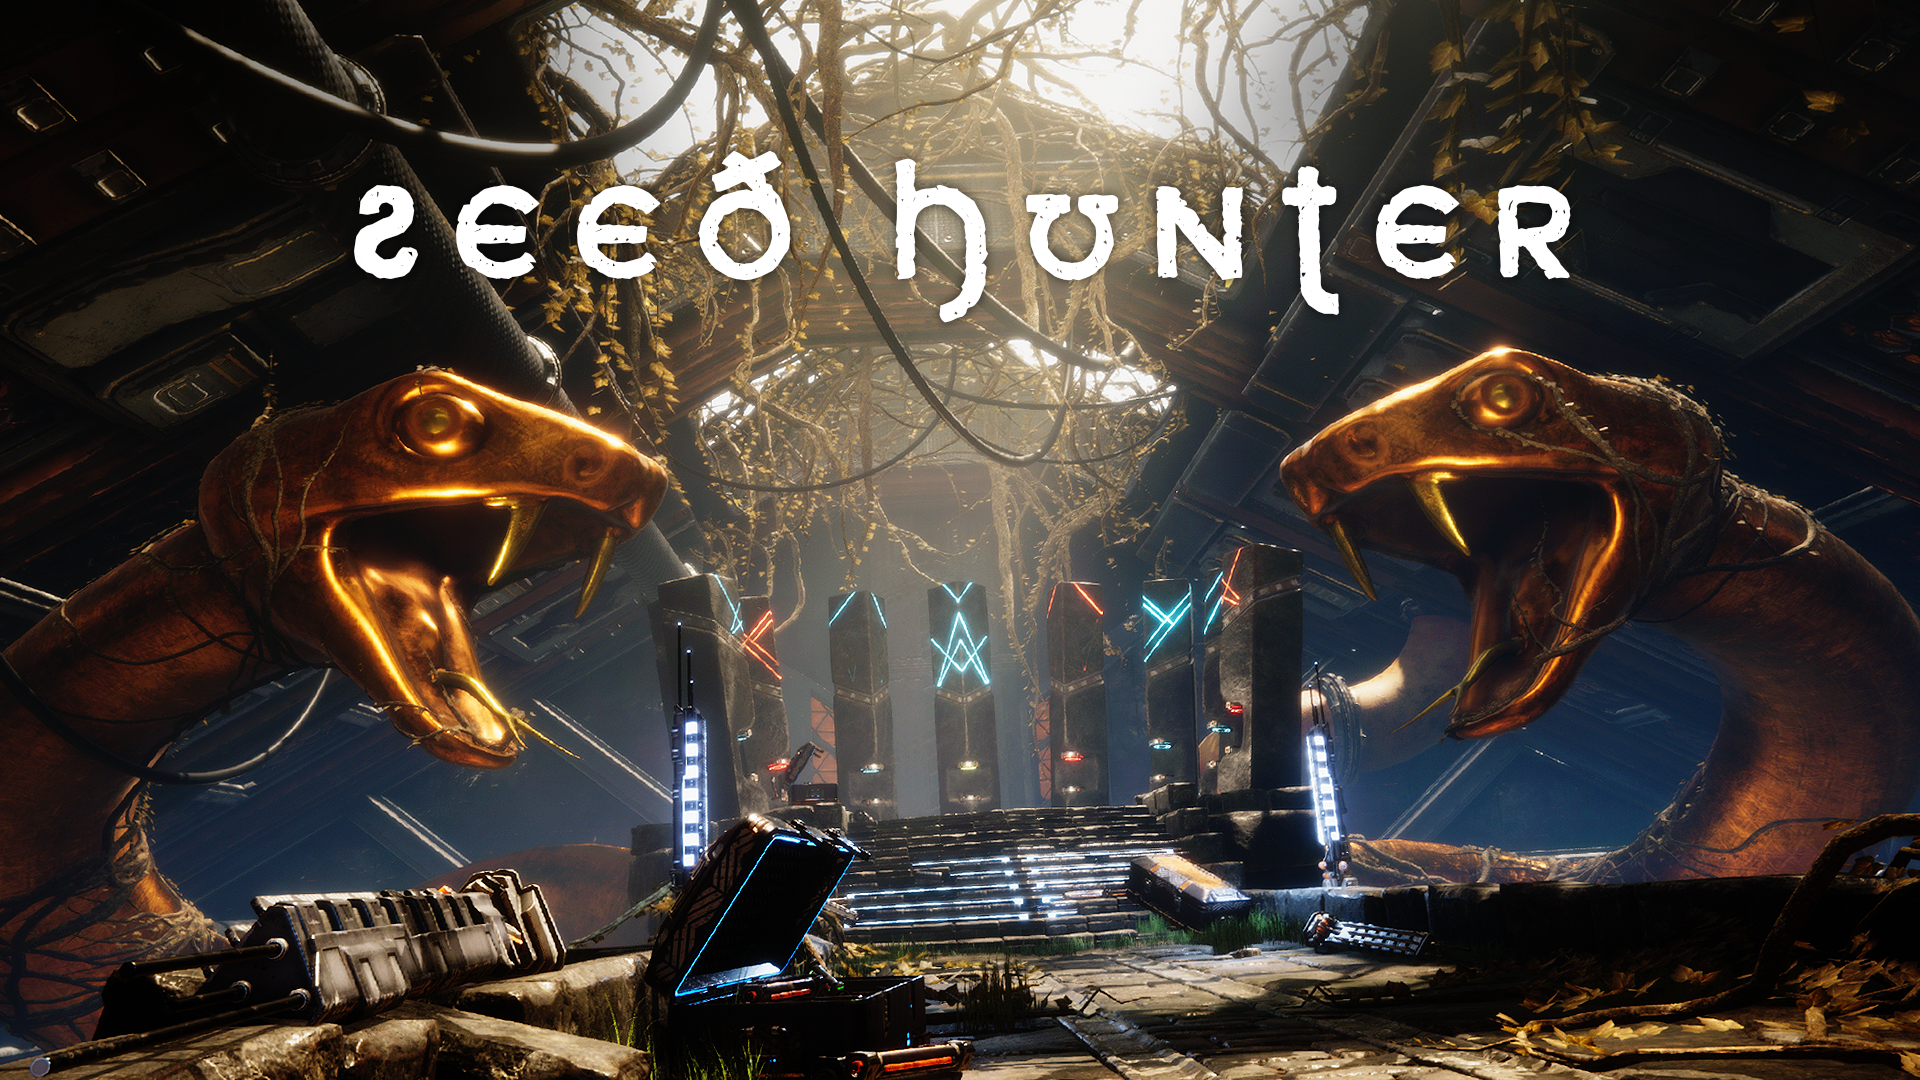
Homecoming
Updated 6 years ago
9.9 K
131
25
“Every traveler has a home of his own, and he learns to appreciate it the more from his wandering.” ― Charles Dickens
FINAL SUBMISSION
SCREENSHOTS
Introduction
Hi, my name is Pavel and I work in game industry for more than 14 years. I took this challenge mainly because I wanted to get creative without worrying about usual game stuff - considering gameplay, optimizations, proper collisions... Another reason was to finally learn all those new amazing features of Unity 2017, and of course - practice out of my daily job routine.
Concept
I am a huge fan of sci-fi genre, especially when it comes to unknown worlds or just planet Earth with some alternative universe twist. I picked two artworks by Georgi Simeonov as a starting point, mainly because of their colour palettes and kind of a “great sea barrier” motive which started to grow on me by looking at them.
I went through my favorite art directions in games, which would be blend of Half-Life 2, Dishonored and more recently, Death Stranding. I was imagining shoreline, cliffs, dead whales, giant tower structures and some kind of industrial processing happening, all of that wrapped in sort of decaying world theme. I have strengthened those ideas with following moodboard and references (notice the amazing tower concept from ADAM).
Production Phase 1 - Planning / Asset Store Research
I’ve realized this project will consume a lot of time, so I had to plan carefully. I decided to rely heavily on Asset Store and minimize production of my own assets (models, textures) - most of the time has to be spent in Unity, working on the scene itself. At this point I still hadn’t any practical experience with Cinemachine or Timeline, so I added some extra time to learn those as well (both turned out to be pretty user friendly, which shaved a lot of hours from my estimation).
I went through my head and imagined the whole scene and all it’s asset requirements. I was very happy when I found several assets that were aligned with my idea, especially the BioMechanical Whale and The Probe, both of which are high quality assets, suitable for camera close-ups. I took them as main mood setters and decided to make the whole piece around them.
After that, I just collected rest of the assets like rocks, vegetation and materials, so I could focus only on crafting the scene. Please refer to the end of this page for the exact listing of all 3rd party assets used.
Production Phase 2 - Project Setup / Quick Sketch
Time to get practical. I started a fresh Unity project (always a good feeling), created basic project hierarchy and started importing all the assets, including Post Processing Stack v1, Cinemachine and Recorder, while keeping everything organized as much as possible (helps to speed up workflow).
After that, just out of curiosity, I tried to do rough sketch as quickly as possible, to see how all those assets will look when placed next to each other. In like 2 hours, I had the following screenshot. Not really what I was going for, but at least I got familiar with the assets. It needed to be more vast and story driven.
Production Phase 3 - Storyboard
I stepped back, fired up Photoshop and painted / photobashed short storyboard while listening to whale sounds. I have imagined a story about cybernetized explorers sent into various distant galaxies to find habitable planets. After many years later, those explorers are now returning to Earth with gathered data, but something is wrong. Story to be continued...
Anyway, result was a foundation for my “new proper” scene with some basic Cinemachine / Timeline ideas as well.
Production Phase 4 - Camera Setup / Scene Block Out
I started blocking out new scene while following my story board. At this point I have established single vCam with a long take shot, all manually keyed, as I was expecting to do proper camera work later.
I blocked out the Towers in a distance with ProBuilder Advanced, which is my tool of choice when it comes to any prototyping, although I could really skip it this time, as rest of the scene is pretty organic and I had already plenty of assets anyway.
At this point I started using AQUAS Water/River Set, as water is a big part of the scene. Implementation was pretty quick, underwater / transition effects pretty OK, but I overlookd the fact it is only a flat shader, meaning my ocean would be dead still. Oops.
In next videos you can see more blocking out happening, extending the camera path towards some close-ups and possible ending. Still pretty rough, basically trying to find some interesting shots while constantly adjusting all elements and playing around with Post Processing Stack (v1 at this phase).
Production Phase 5 - Custom Assets Creation
It was time to replace all the blocked out elements with an actual models if I wanted to brought the scene into more final stage. I tried to do this part as quickly as possible, as creating "proper" polished assets could take me easily weeks. So I went to Textures.com (formerly CGTextures), grabbed few metal plates and created following set of textures (all 2048 x 2048) to be repeatedly used on all my custom models. No unique UVs, no normal maps baking. Super dirty way, but I was hoping Depth Of Field will cover all my artist sins.
For the modeling part, I kinda took the same approach. I had 2 hard surface kit bash sets as part of my toolset (created by Andrew Averkin and Poly Workshop), perfect for quick creation of some interesting shapes. So I started 3dsmax and got to work.
I started with the Tower, as that is the largest object in the scene (always go from "bigger picture to smaller"). Just by bashing few of those hi-poly parts, I had a decent silhouette in a hour or so.
Here is the funny part - 1 Tower has 250k triangles, and those are used basically just as background objects, so I was bit worried about the optimizations and how will Unity handle all such "dirty" models. Long story short - without any hassle. Everything runs perfectly smooth!
As for texturing, I sticked to the good old Box UVW Map and just adjusted mappings to look OK from a far.
Same process was repeated for creation of Furnace Construction and Furnace Gate (which was animated later in Unity, not in 3dsmax). Furnace Construction has 300k triangles and is built in modular fashion, so I was able to "extend" it directly in Unity. Furnace Gate has 85k triangles.
Little bit tricky was the cables / wires part, as I wanted those in exact positions to fit the composition. Even more, Cyborg hanging from the Probe had to be animated. After unsuccesful experiments with physical wire solutions, I have imported several objects from Unity into 3dsmax (in .obj format) and created few very specific splines (I had Terrain in final state at this moment, otherwise working on ground cables would be waste of time). All went good except for the Cyborg, which is Skinned Mesh and I wasn't able to export him into 3dsmax on exact coordinates. So I posed him in Unity, created 2 small spheres on his wrists, and exported those as "locations" where the cables should hold him. In final shot, it is hardly noticeable that it's all a bit sketchy ;)
Production Phase 6 - Main Production
This part would be too extensive to go step-by-step, so instead I will go through specific key implementation details.
Timeline & Cinemachine
Timeline is the heart of it all, as lot of stuff is actually happening in the scene. I kept everything organized from the very start, separated into logical groups, which speeded up my workflow.
Here you can see I've ended up with 9 different vCams, even though the video is in "one-take shot" style (except for the only cut before ending). Reason is it allowed me to focus on specific objects in certain moments, have dedicated PostProcessProfiles, different procedural cam noise etc. Plus I was always animating only a small portion of the cam path, and with all the cam blending possibilities, I could easily rework or tweak certain parts without worrying about the others.
Following set of Timeline screenshots (click image for higher resolution) just further shows how I manipulated with objects in the scene. Notice a lot of Activation tracks, as I was enabling/disabling certain things only for the specific shots, so they wouldn't mess with other shots (lights, lens flares...).
Most of the animation happened directly in the Timeline, for example floating otherworld whales - those were playing regular Animation clip each (swimming), while also being independently animated in other Timeline clip for "global" movement.
All of the character animations (cyborgs), like drown floating in the sea, hanging on the probe wires or summoning, were all animated in the Timeline as well.
PostProcessing Stack
At certain point of development, I had to switch from PostProcessingStack v1 to v2. I was interested in PostProcessVolumes, Profiles and overall different workflow. I am using every effect it has to offer, except for Auto Exposure I believe, while Color Grading was the main mood achiever here.
Image on the right shows how many PostProcessProfiles were actually used in the scene - for example, there are 4 different setups just for the underwater part. Some variations are hardly noticeable, but they exist for a good reason (mild tweaks in DOF, Bloom, Color Grading), as each shot requires a bit different treatment.
Project / Scene Hierarchy
Keeping everything organized is the key to a productive workflow (at least for me). You can notice I am keeping all 3rd Party assets sorted as much as possible, while keeping my own custom assets in separate folders. Assets I know that won't be used anymore gets deleted.
For the Scene hierarchy, same rules applies - organization through logical folders and subfolders (read "empty GameObjects") with consistent naming convention, so I can find very quickly what I am looking for. Yes, I could have been more creative with vCams naming ;)
Effects
Most of the effecting happens through PostProcessingStack, but there are also some other tricks. Apart from usual stuff like particles, nice effects were achieved thanks to the Volumetric Lighting, which I am also animating in certain moments (Furnace Gate opening, explosion-like swapping of normal world into "other world").
Underwater god rays were achieved just by a texture mapped on a simple plane - I could probably experiment with true volumetrics here as well, but this quick solution was OK for my needs, plus I was still able to animate the Material parameters to adjust them real-time during camera movement.
Kind of a same approach was used for the comet-like falling of probes into a sea. Just a simple small texture mapped onto very low poly mesh, but thanks to the Bloom and Material emissivity, it gives a decent burning effect. Put that in combo with some smoke and water splash particles, and for such a brief background object it's enough (well, at least for me). Other comets were of course just a duplicates, only activated with some delay.
For into/outro texts and fade in/fade out effects I went with a bit hacky solution - again just textures mapped on a plane, linked under the Main Camera with animated Material opacity.
Production Phase 7 - Sound Design
This was pretty fun, as I really enjoy creating music and playing around with sound in general. I bought several sample packs from Bluezone Corporation, which is my go-to for any cinematic sounds (kinda like Textures.com for environment textures). Once I knew I have a final cut, I layered around 50 different soundscapes, ambiences, impacts and other sounds into one single track. My plan for the future is to place those individual sounds into actual Unity Audio Sources and play around with Reverb Zones.
Summary
Whole project was a great experience - starting from total creative freedom to learning of many new tools and principles.
One thing I want to mention is the fact that there were absolutely no optiizations done, and there is more than 20.0M triangles in every frame. Yet, whole scene was rendered real-time, and everything was running perfectly smooth even in the editor mode.
Following is a set of viewport screen grabs directly from editor:
Custom Assets Created
- The Tower
- Furnace Construction
- Furnace Gate
- Simple effects (Underwater god rays, falling Probe comet)
Unity Tools
Unity 2017.2.0f3 (Personal)
Post Processing Stack v1 (only for block out, switched later to v2)
Post Processing Stack v2 (2.0.0-Beta4) (GitHub)
Volumetric Lighting (GitHub)
Cinemachine (Asset Store)
Recorder (Asset Store)
Standard Assets (Asset Store)
Legacy Image Effects (Asset Store)
Assets Store Listing
Systems / Plugins / Scripts
SUIMONO Water System
ProBuilder Advanced
AQUAS Water/River Set
Sci-Fi Lens Flare
ObjExporter (from Unify Community Wiki)
TerrainObjExporter (from Unify Community Wiki)
Models / Textures / Materials / Particles
Arid Environment Rocks
Photoreal Debris Pack
The Blacksmith: Environments
Cyborg 3D Model
The Probe
BioMechanical Whale
Surfaces
Fallen Tree Barrier
Nature Shield
SpeedTrees Package
AllSky
Garbage Heap The Last
Buoy & Bridge
ELECTRONICS V.1
Falling Ash VFX
Unity Particle Pack
External Tools
Photoshop
3dsmax
External Assets
Models / Textures / Audio
Hard Surface Kitbash Pack 01
Free Sci-fi Kitbash Set
Textures.com (formerly CGTextures)
Bluezone Corporation (various audio sample packs)
Work-In-Progress Logs
Work In Progress Log #8 - 15.1.2018 (FINAL SUBMISSION)
- last minute tweaks and polishing
- smoother timing / blending of cameras
- more PostProcess tuning - especially DOF
- reworked credits
- finalized sound design
- finishing touches here and there
Work In Progress Log #7 - 14.1.2018
- polishing phase
- tweaking PostProcessProfiles, cameras and their blending
- bit more detailing in blank shots and rearranging few objects for better compositions
- animating last objects (a whale passing by the camera in underwater part, The Chosen on top of the whale)
- almost final sound design
- testing render in 4K resolution
Work In Progress Log #6 - 13.1.2018
- major work done
- detail pass on whole scene
- replaced Post Processing Stack v1 with v2 (took some time to figure everything out with all other assets)
- setting up PostProcessVolumes, several tweaked PostProcessProfiles
- added Unity Volumetric Lighting
- single manually keyed vCam reworked into proper Cinemachine implementation
- most of the shots balanced
- pass on particles and animations, posing
- initial sound design
- updated article on Unity Connect (with first video posted)
Work In Progress Log #5 - 7.1.2018
- basic scene shaping done
- blockouts replaced with actual custom models
- AQUAS Water/River Set replaced with more sofisticated SUIMONO Water System (quite a time spent to make everything look and work as expected)
- detail pass on underwater part
- added placeholder intro / outro
- basic posing and animations done on key assets
- more camera / post process work (still rough, but with emphasis to the final cam path)
- submitted rough article with a single screenshot to Unity Connect
Work In Progress Log #4 -2.1.2018
- replaced "cyborg hanging from a tree" with a whale construction instead
- trying new camera approaches
- searching for optimal mood through Post Processing Stack tweaking
Work In Progress Log #3 - 29.12.2017
- further blocking out
- extending the camera path
- setting up basic compositions
Work In Progress Log #2 - 21.12.2017
- painted storyboard
- block out of new scene
- very basic implementation of Cinemachine, Timeline and Post Processing Stack
Work In Progress Log #1 - 10.12.2017
- most of the key assets gathered
- references collected
- Unity setup and ready for development
- first rough sketch to kick off things